1084 Steel Heat Treatment: Complete Recipe Guide
If you're looking for a reliable 1084 heat treatment recipe that actually works, you're in the right place. This is the process that delivers consistent results.
No guesswork. No "it depends." Just the recipe.
1084 is often the first steel new bladesmiths successfully heat treat. Order proper 1084 from a reputable supplier like NJSB, follow the recipe exactly, and you'll get a blade that passes the brass rod test. It's still the top recommendation for anyone starting out.
Why 1084? (Quick Overview)
Before the recipe, here's why 1084 is the best steel for beginners and why many production bladesmiths still use it:
| Property | 1084 | Why It Matters |
|---|---|---|
| Carbon content | 0.80-0.93% | High enough to harden well, not so high it's brittle |
| Alloying elements | Minimal (just Mn) | Simple heat treat, no complex cycles needed |
| Forgiveness | Very high | Wide temperature window for success |
| Edge performance | Excellent | Takes a keen edge, holds it well |
| Price | Low (~$5-8/lb) | Mistakes don't hurt as much |
| Availability | Excellent | Every steel supplier carries it |
According to Knife Steel Nerds, 1084 is "perhaps the most forgiving steel for the beginning bladesmith."
The Recipe (Quick Reference)
Here's the complete recipe. Print this out and tape it to your forge:
═══════════════════════════════════════════════════════
         1084 STEEL HEAT TREATMENT — QUICK CARD
═══════════════════════════════════════════════════════

NORMALIZE (3 cycles)
  Cycle 1: 1550°F (845°C) → Air cool
  Cycle 2: 1500°F (815°C) → Air cool
  Cycle 3: 1475°F (800°C) → Air cool

AUSTENITIZE
  Temperature: 1475°F (800°C)
  Soak time: 10 minutes
  Check: Non-magnetic + 50°F

QUENCH
  Medium: Canola oil or Parks 50
  Oil temp: 120-130°F (50-55°C)
  Method: Edge first, agitate 10 sec, hold 30 sec

TEMPER (2 cycles)
  Temperature: 400°F (205°C) — adjust for use
  Time: 2 hours per cycle
  Cool: Air cool between cycles

EXPECTED RESULT
  Hardness: 60-62 HRC (at 400°F temper)
  File test: Should skate completely

═══════════════════════════════════════════════════════
That's it. If you follow this exactly, you'll get a properly hardened blade.
Save or print this visual reference card:

Now let me walk you through each step with the details that matter.
Step 1: Normalize
What: 3 progressively cooler heating cycles Why: Refines grain structure, relieves stress from forging/grinding Time: ~20-30 minutes total
The Process
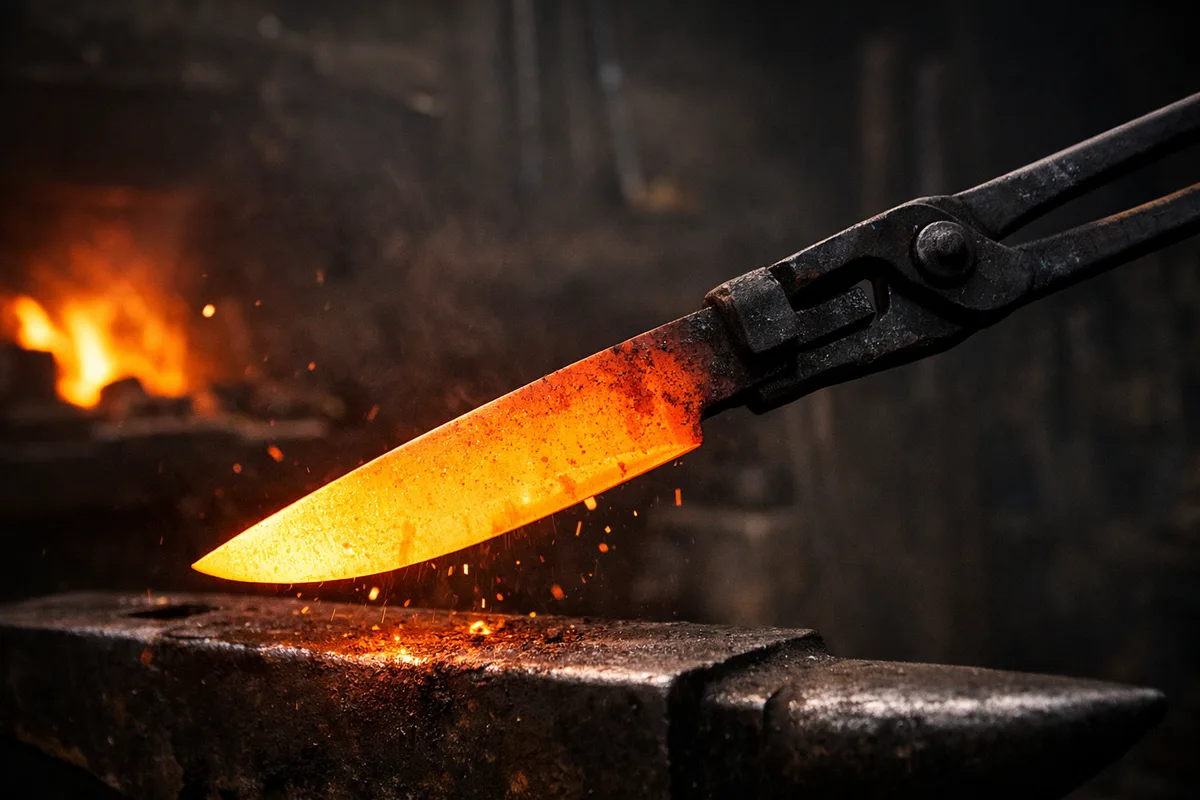
Cycle 1 — 1550°F (845°C)
- Heat blade evenly until bright orange
- For forged blades, make sure the entire blade reaches temp (thick spine takes longer)
- Remove from forge
- Set on firebricks and let air cool until black (no forced air, no quench)
Cycle 2 — 1500°F (815°C)
- Heat to slightly less bright orange
- Remove and air cool
Cycle 3 — 1475°F (800°C)
- Heat to dull orange (just above non-magnetic)
- Remove and air cool
What to watch for: After the third cycle, look for a uniform matte gray color on the blade. Shiny spots or scale patterns are fine — but uneven coloring might mean uneven heating. If that happens, do one more cycle.
Why 3 Cycles?
Each cycle refines the grain structure. Dr. Larrin Thomas explains that multiple normalizing cycles progressively reduce grain size. Three cycles is the sweet spot — more doesn't hurt, but you get diminishing returns.
For stock removal (not forged): You can often get away with 2 cycles since the steel hasn't been stressed by forging.
Step 2: Austenitize (The Critical Heat)
What: Heat to transformation temperature and hold Why: Transforms steel structure so it can harden during quench Time: ~15 minutes
Finding the Right Temperature
1084's critical temperature is around 1475°F (800°C). At this point, the steel becomes non-magnetic.
The magnet test:
- Keep a magnet on a long wire near your forge
- Touch it to the blade every 30 seconds as you heat
- When the blade stops sticking to the magnet, you've hit critical temp
- Add about 50°F (25°C) more — so target 1475-1525°F
When the blade stops sticking to the magnet, you're at critical temperature.
The Soak
Once you hit temperature, hold it for 10 minutes.
This "soak" time allows:
- Heat to equalize through the entire cross-section
- Complete transformation to austenite
- Carbon to dissolve properly into the steel matrix
For thin blades (<3mm): 7-8 minutes is fine For thick blades (>5mm): Go 12-15 minutes
Common mistake: Rushing this step. "It's non-magnetic, let's go!" results in blades with soft spots in the spine — the thick part hadn't soaked long enough. Set a timer and don't touch the blade until it beeps. Patience here prevents problems later.
Temperature Precision
How precise do you need to be?
| Accuracy | Result |
|---|---|
| ±25°F of target | Perfect — 1084 is forgiving |
| ±50°F of target | Probably fine, might be slightly softer or harder |
| ±100°F of target | Starting to have problems |
1084 has a wide "window" for success. This is why it's recommended for beginners. Steels like O1 or 52100 are much more temperature-sensitive.
Step 3: Quench
What: Rapid cooling in oil to form martensite Why: Locks in the hardness Time: ~60 seconds in oil
Oil Setup
Recommendation: Canola oil for beginners, Parks 50 for production
| Oil | Pros | Cons |
|---|---|---|
| Canola | Cheap ($4/gallon), available everywhere, forgiving | Smells when heated, slightly slower |
| Parks 50 | Industry standard, consistent results | Expensive ($40/gallon), have to order it |
| Mineral oil | Clean, no smell | Varies by brand, test first |
Oil temperature: Pre-heat to 120-130°F (50-55°C)
A cheap aquarium heater in your quench tank works well. Cold oil (room temp) increases crack risk and can cause warping.
Volume: At least 2 gallons for a knife. The oil temperature will spike during quench — more volume = more stable.
The Quench Technique
This is where most beginners mess up. Here's the correct technique:
- Verify temperature — One last magnet check, should be non-magnetic + glowing orange
- Move fast — From forge to oil in under 3 seconds
- Entry angle — Edge first, perfectly vertical, straight down
- Agitate — Gentle slicing motion for 10-15 seconds (breaks vapor jacket)
- Hold still — Keep submerged for another 30-45 seconds
- Full cool — Don't remove until you can hold the blade comfortably
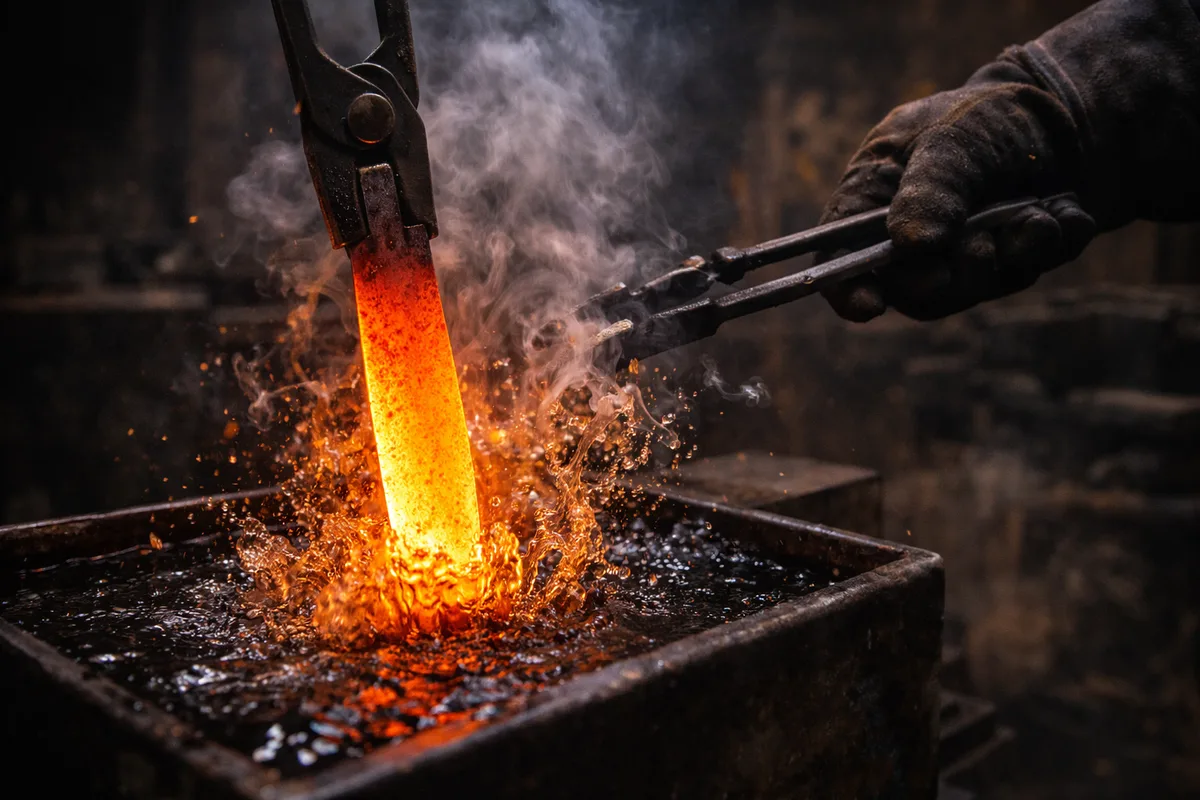 Edge first, straight down, no hesitation.
Critical tip: Entering the quench at an angle causes the edge to hit first on one side, cool unevenly, and warp toward the side that hit first. Draw a reference line on your quench tank lid and aim for it every time. Perfectly vertical entry = minimal warping.
Post-Quench Check
Immediately after quenching, test with a file:
- File skates off completely → Success! Move to tempering.
- File bites slightly → Partial hardening. Try again with higher temp or longer soak.
- File bites easily → Failed. Check your steel source and temperature.
⚠️ Important: Temper within 1-2 hours of quenching. As-quenched steel is under stress and can crack if left too long.
Step 4: Temper
What: Controlled reheating to reduce brittleness Why: As-quenched steel is too brittle for use Time: 4+ hours (2 cycles × 2 hours)
Temperature Selection
The temper temperature determines your final hardness. Choose based on intended use:
| Temper Temp | Expected HRC | Best For | Notes |
|---|---|---|---|
| 350°F (175°C) | 63-64 | Razors, scalpels | Too hard for most knives — edge will chip |
| 375°F (190°C) | 62-63 | Fine slicing, sushi | Excellent edge, needs careful use |
| 400°F (205°C) | 60-62 | Kitchen knives, EDC | My default — best balance |
| 425°F (220°C) | 59-60 | General purpose | Slightly more tough |
| 450°F (230°C) | 58-59 | Hard use, batoning | Good toughness, still holds edge |
| 500°F (260°C) | 56-57 | Choppers, camp knives | Maximum toughness |

Standard recommendation: 400°F for almost everything. It's the sweet spot where you get excellent edge retention without being chippy.
The Process
- Clean the blade — Wipe off all quench oil (it will smoke otherwise)
- Verify oven temp — Use an oven thermometer, don't trust the dial
- Place blade in oven — I put mine on a cookie sheet
- Set timer for 2 hours
- Remove and air cool — Let it cool completely to room temperature
- Repeat — Do a second 2-hour cycle at the same temperature
Why Two Cycles?
According to Crucible Industries' heat treatment data, the first temper converts primary martensite but creates new martensite from retained austenite. The second cycle tempers this "fresh" martensite.
Testing confirms this — single-tempered vs double-tempered blades from the same bar show noticeably better toughness with double tempering in the brass rod test. Never skip the second cycle.
Note: Some makers do 3 temper cycles, but for 1084 there's not enough benefit to justify the extra time. Two cycles at 400°F gives consistent results — 60-62 HRC every time, with no chipping issues.
Troubleshooting 1084
Problem: Blade Didn't Harden (File Bites)
Most likely causes:
- Didn't reach critical temp — Use magnet test, don't guess by color
- Soak time too short — Give it the full 10 minutes
- Transfer too slow — Practice the motion, under 3 seconds
- Wrong steel — Unmarked steel might not be 1084
Fix: Re-normalize (2 cycles), then try again with verified temperature and longer soak.
Problem: Blade Cracked
Most likely causes:
- Oil too cold — Pre-heat to 120°F minimum
- Geometry issue — Sharp inside corners are stress risers
- Too thin before HT — Leave edge at 1mm+ thickness
- Delayed tempering — Temper within 2 hours of quench
Prevention: For 1084, cracks are usually from cold oil or sharp transitions in geometry. Round any inside corners before heat treat.
Problem: Blade Warped
Most likely causes:
- Uneven thickness — One side thicker = uneven cooling
- Angled entry — Must be perfectly vertical
- Uneven heating — Rotate blade during heat-up
Fix for minor warps: Clamp between flat bars during first temper cycle. The 400°F heat allows some movement while the clamps hold it straight.
Problem: Soft Spots
Most likely causes:
- Incomplete soak — Thick sections need longer time at temp
- Scale or contamination — Clean blade before quench
- Vapor jacket — Must agitate during quench
Prevention: Full soak time + agitation during quench.
Recommended Setup for 1084
Here's what works — nothing fancy:
Forge: Two-burner propane — any forge that can hit 1500°F+ works fine
Temperature verification:
- Magnet on 12" wire for critical temp check
- Type K thermocouple ($25) when I want exact numbers
Quench tank: 5-gallon steel bucket with aquarium heater inside
Quench oil: Parks 50 for production, canola for beginners (more forgiving)
Tempering oven: Dedicated toaster oven from thrift store with oven thermometer to verify
Total cost: Under $250 for everything if you already have a forge
Steel Sources
Where to buy verified 1084:
| Supplier | Quality | Notes |
|---|---|---|
| New Jersey Steel Baron | Excellent | Primary source for many bladesmiths, always consistent |
| Alpha Knife Supply | Excellent | Good prices, fast shipping |
| Jantz Supply | Good | Also carries handle materials |
| USA Knifemaker | Good | Wide selection |
⚠️ Avoid: Random steel from scrap yards, flea markets, or unmarked sources. Many bladesmiths have wasted weeks trying to heat treat mystery steel that turned out to be 4140 or even stainless.
Recording Your Results
Every heat treatment teaches you something — but only if you record it.
Here's a recommended log sheet:
DATE: _______________
STEEL: 1084   SOURCE: _______________
BLADE: _______________ THICKNESS: _____mm

NORMALIZE
  Cycles: 3    Temps: 1550/1500/1475°F
  Notes: _________________________________

AUSTENITIZE
  Temp: _____°F    Soak: _____ min
  Magnet check: Y/N

QUENCH
  Oil: ____________    Oil temp: _____°F
  Transfer time: _____ sec
  Notes: _________________________________

TEMPER
  Temp: _____°F    Time: 2 hrs × 2 cycles

RESULTS
  File test: PASS / FAIL
  Flex test: PASS / FAIL
  Final hardness (if tested): _____ HRC

NOTES:
  _______________________________________
BladesmithHub makes this easier than paper — log in 30 seconds and search by steel type when you need to reference an old recipe.
FAQ
Can I use water instead of oil?
Technically yes, but I don't recommend it. Water quenches too fast for 1084 and dramatically increases crack risk. Stick with oil.
Does the oil type really matter?
For 1084, not much. Canola, vegetable oil, Parks 50, mineral oil — they all work. Parks 50 is more consistent, but canola is fine for learning.
What if I don't have a temperature-controlled oven?
Use an oven thermometer to verify your kitchen oven's actual temperature. Most ovens are off by 25-50°F. Adjust your dial setting accordingly.
Can I temper in a toaster oven?
Yes — many bladesmiths use them. Just verify the temperature with a separate thermometer. Toaster ovens often have hot spots, so rotate the blade halfway through.
How do I know if my 1084 is actually 1084?
Buy from reputable suppliers who certify their steel. The suppliers I listed above all provide proper material certification.
Conclusion
1084 is the most beginner-friendly steel for a reason: follow the recipe, and it works.
The recipe one more time:
- Normalize: 3 cycles (1550→1500→1475°F), air cool
- Austenitize: 1475°F, soak 10 minutes
- Quench: Oil at 120°F, edge first, agitate + hold
- Temper: 400°F, 2 hours × 2 cycles
This recipe has been proven on countless blades and delivers consistent results.
Start here. Master this. Then move on to more demanding steels like 80CrV2 or 52100 once you're getting consistent results.
Tracking your heat treatments helps you repeat successes and learn from failures. BladesmithHub makes this easy — log in 30 seconds, search by steel or result.
Related: